WHY FACE PULLS are the best corrective exercise
I’ve been saying it for some time now. “You need to do your face pulls!” And it’s still 100% true!
It’s like eating your vegetables.
It’s just one of those key things you SHOULD be doing.
Face pulls are one of the best corrective exercises to help fix poor posture and shoulder dysfunction. They help strengthen the chronically weak muscles in our upper body that get stretched out all day as we sit in a slumped position at the computer or driving our cars.
Worse yet, most people in the gym are doing a lot of pushing exercises and not nearly enough pulling (unless they’re using an ATHLEAN-X program of course!)
When you train your chest, triceps, shoulders, or even your abs, you are inadvertently feeding into a front to back imbalance that is not only costing you a chance to have muscle symmetry but to maintain healthy joints and muscles in the process.
The face pull is a great pull exercise to help strengthen the muscles of the shoulders and upper back muscles including lower traps, rear delts and rotator cuff that will offset the pulling work that you are doing in the rest of your workouts. It will also help support the shoulder joints thanks to the extra rotator cuff work it entails.
The face pull is a simple exercise to perform, but the problem is that most people do it (and even teach it) completely wrong!
First I’ll show you proper form for the traditional cable Face Pull with my preferred option of adding on a trap raise.
Then, I’ll do a complete break down of the Face Pull exercise for you and show you the best:
- Equipment and Adjustment
- Stance
- Grip
- Travel
- Modifications
- Weight Selection and Programming
Basically, everything you need to know including all the details of proper face pull form to ensure you get the benefits from the powerful face pull exercise!
Because if you make just a single common mistake in your face pull workout, not only will you NOT reap the benefits, you can actually do more harm than good!
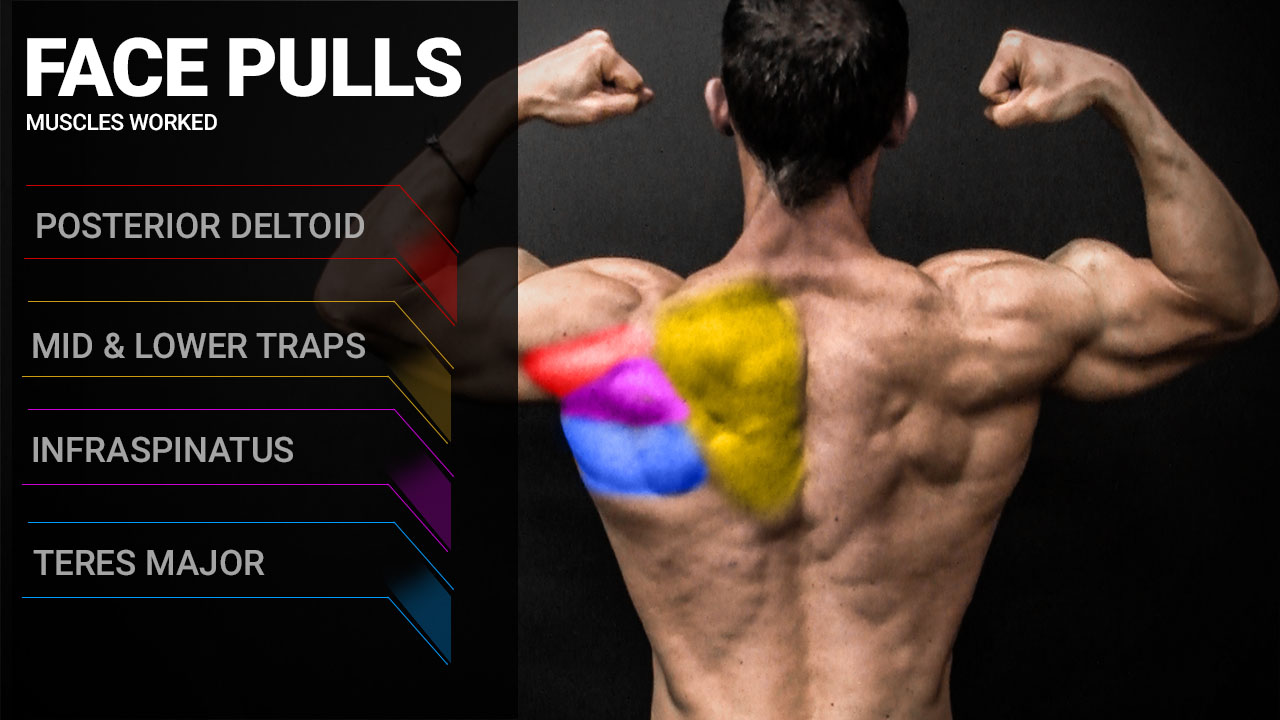
Here’s a graphic that shows the muscle groups that that we are trying to target when doing the face pull. This will come in even handier when we look at how NOT to perform this exercise!
What muscles do face pulls work?
- Posterior deltoid (rear delts)
- Mid Traps
- Lower Traps
- Infraspinatus
- Teres Major
FACE PULL MISTAKES TO AVOID!
There are lots of WRONG ways to do a face pull, and the truth is a lot of people don’t perform this exercise correctly.
And they themselves are not entirely to blame, because there are YouTube tutorial videos out there with millions of views that are not only showing you an incorrect way to do the exercise, but actually the fastest way to hurt yourself doing it!
That’s not what we want.
For example, you will not get the most out of this exercise if you don’t choose the correct height adjustment, travel to the correct area of the face, hand grip or stance for the movement.
There are also some important considerations for equipment if you don’t have access to cables with rope attachments and need to perform face pulls at home.
So, I’m going to help make sure you do this right!
I know I’ve become a little synonymous with this exercise, but for good reason.
I’ll wear that badge proudly because I believe this is an incredibly important exercise! Not just to build the stability of your upper body and torso for your bigger lifts, but more importantly, to your overall posture and health.
So, we need to do it.
First let’s look at the basics on how to do a face pull with a trap raise. Then we’ll break it down step by step to look at all of the important considerations for the face pull so you can start doing yours properly beginning today!
HOW TO DO THE FACE PULL
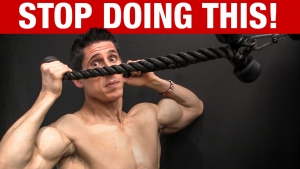
For Cable Face Pulls we’ll start by setting up a rope attachment on a cable in a high position, or if you’re training at home you can anchor a band to something high.
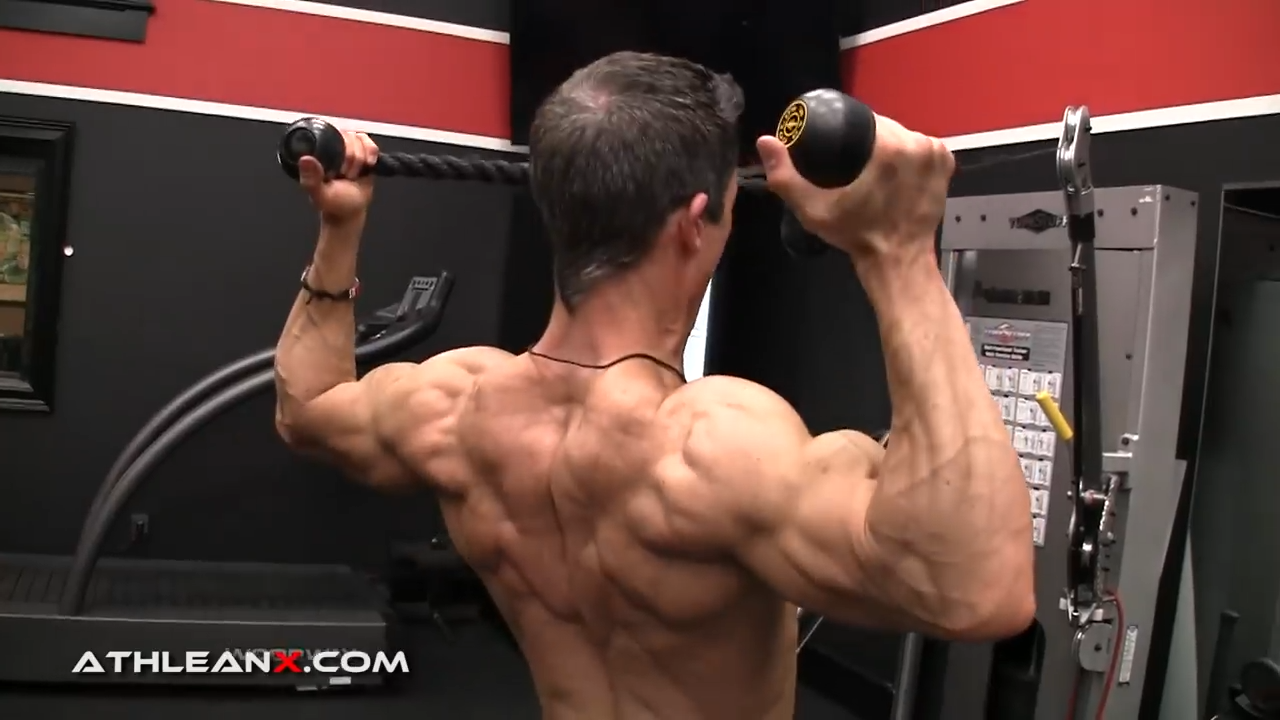
Grab the ends of the rope attachment with your thumbs pointing backwards.
Keep your elbows down below your shoulder. You don’t want to raise them to the level of your shoulder.
Then you turn the hands slightly and pull. By turning and rotating out you’re getting the external rotation of the shoulder to hit the rotator cuff which never gets worked in most conventional training programs.
FACE PULLS

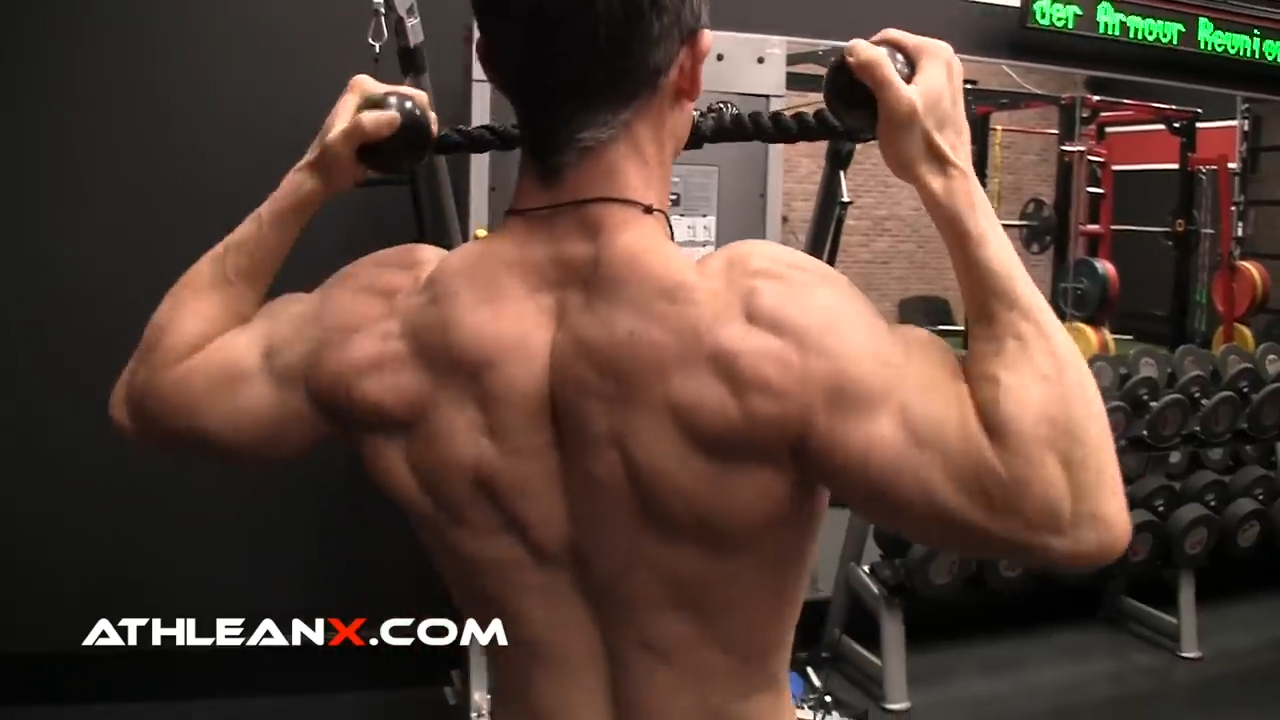
Exercise notes: Start position is standing, holding a cable attachment in each hand with palms facing each other and thumbs pointed toward your face. Begin pulling the rope with elbows leading the hands as you pull backward and squeezing the shoulder blades as you get the end of the movement. Return to the starting position and repeat.
how to do face pulls at home
Whether you’re doing the cable rope face pulls or doing banded face pulls at home, there are some important differences between the two and considerations for both.
First and foremost, if you have access to a cable machine at the gym, that’s the preferred option.
If you’re at home, the resistance bands version is a great face pull alternative. But there is something you need to be aware of when it comes to doing it with the band.
When you do the resistance band face pull, the strength curve is different than what you’re going to encounter on a cable pulley machine. As you stretch the band further and further out it gets more and more difficult.

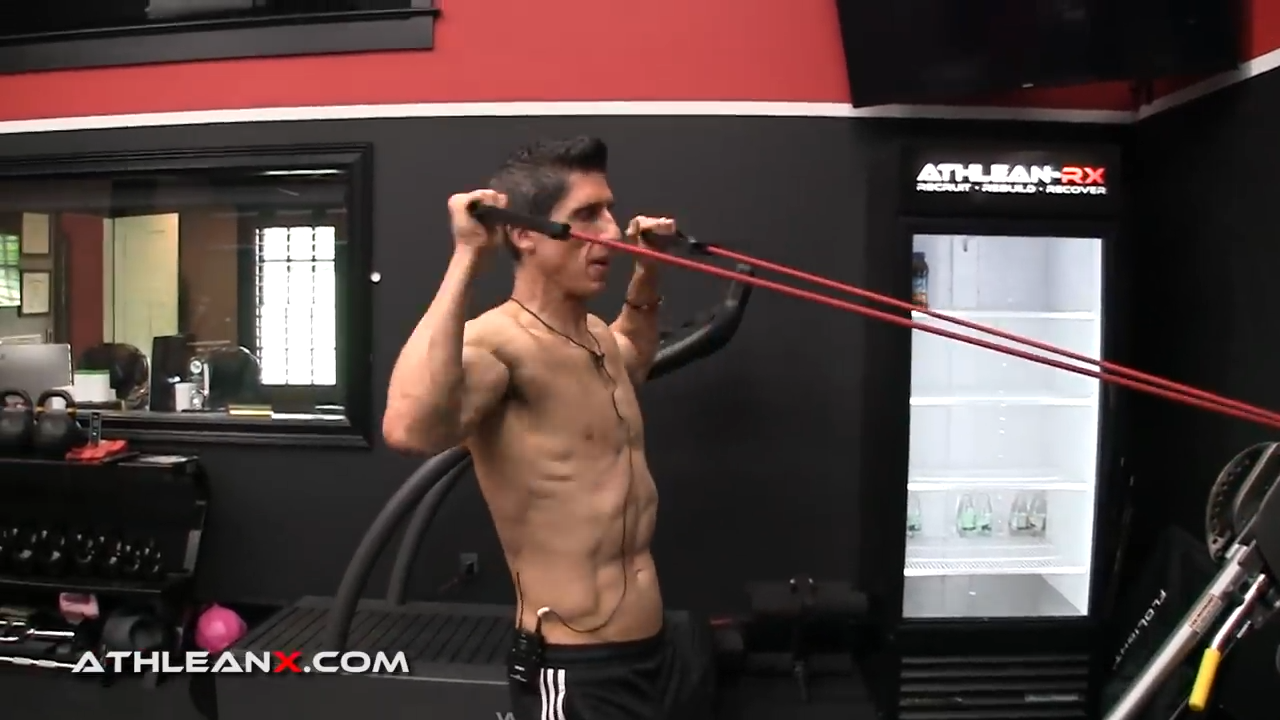
The most difficult portion of this exercise is the end. So, if I were to try to do full range of motion where my arms are out in front of me getting some scapular protraction, and then I come back into the face pull, I hit a wall. I don’t have the strength because this band got too hard too quickly.

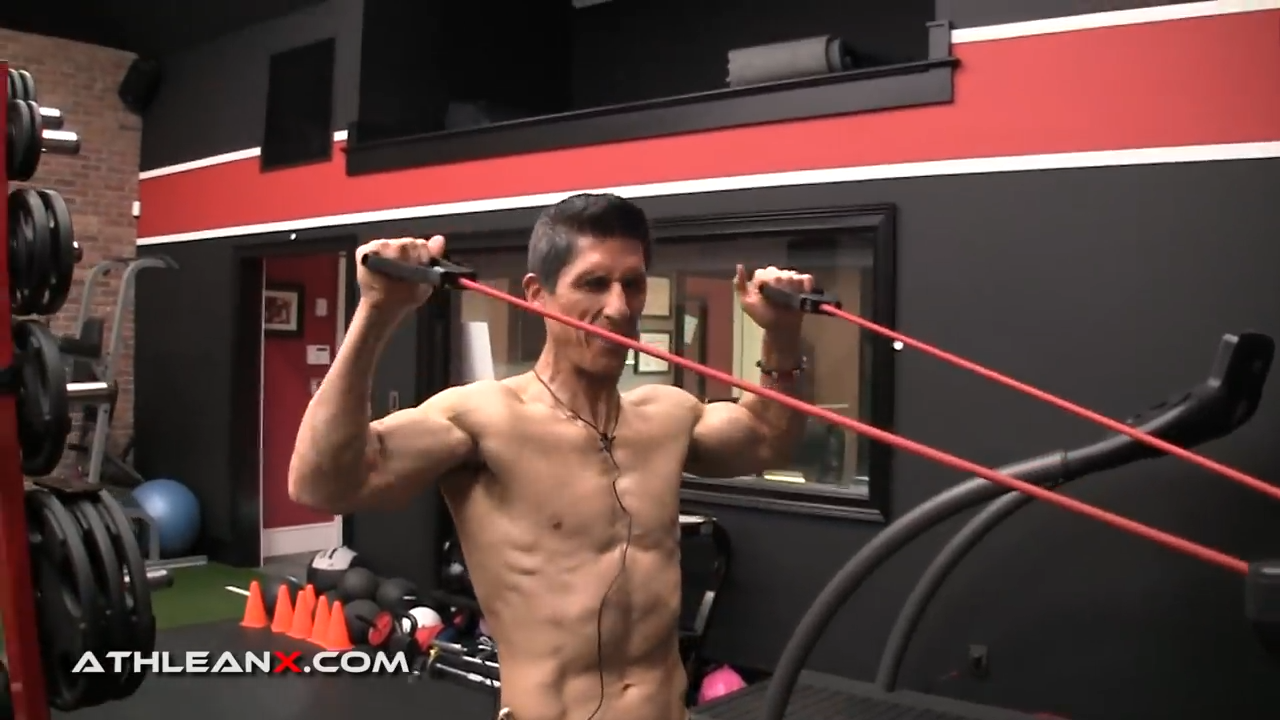
I’d either have to compromise and use a lighter band, or I’d have to stand closer and start in the midrange of the exercise so I can get in the right position at the end. It’s just something you have to be aware of if you’re going to train at home.

BEST ATTACHMENT FOR THE CABLE FACE PULL
If you’ve got access to a cable machine, it’s a better option to perform face pulls. But what kind of attachment would you use?
You wouldn’t want to attach a bar to this because you’re going to limit the amount of rotation you can get through your shoulders, which is an all-important component of this exercise.
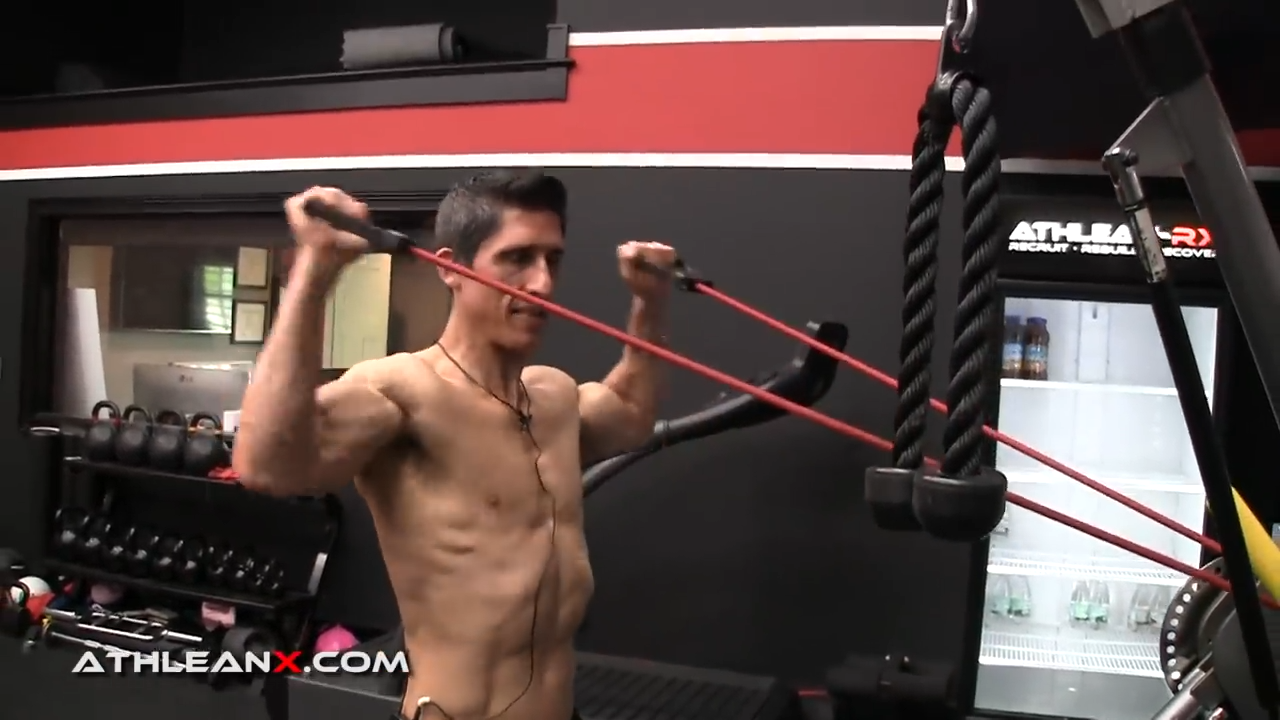
You’d want to use a rope attachment, but the problem with one rope is that it’s usually not long enough to get our arms out as wide as we want to. We need it to be wide enough so we can get into external rotation, and a single rope doesn’t allow us to get there.
The best option is to use a sled rope if you’ve got one, or simply take two rope attachments at the gym and attach them in this way.

HEIGHT ADJUSTMENT FOR EQUIPMENT
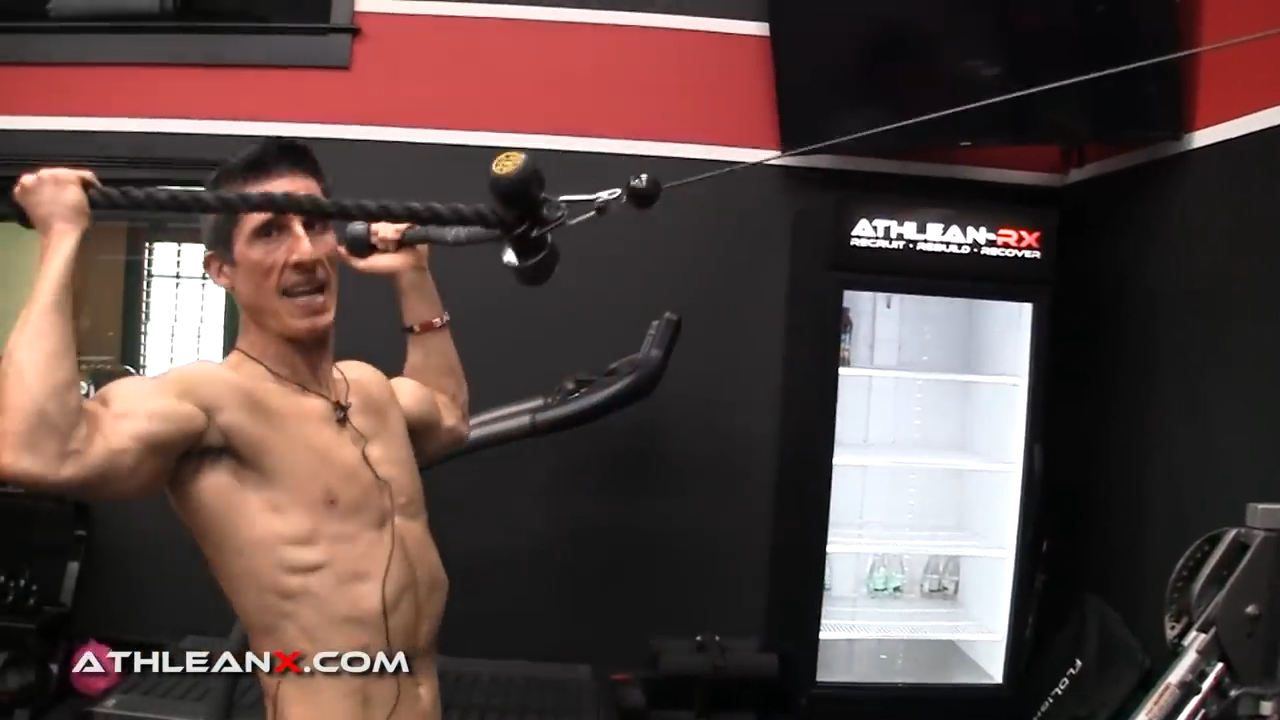
One of the most common errors when performing the face pull is the incorrect placement of the anchor point of the band or the cable.
You see some people taking a lower anchor point with the face pull, but that sets up the wrong mechanics for this exercise.
You’re basically performing an upright row instead of a face pull.

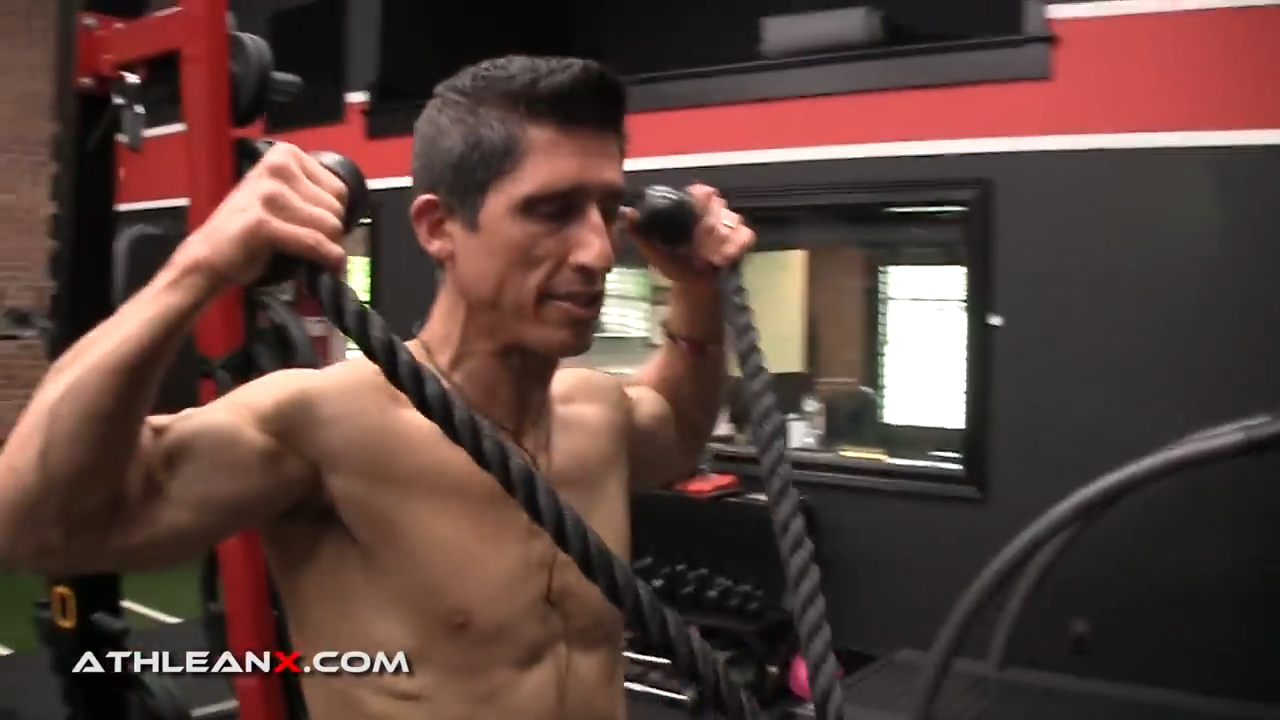
When you resist from low to high, you’re asking for an eccentric contraction of the external rotators of the shoulder to counteract that because you’re being pulled down and forward. If your arm is getting pulled forward, your back is getting rounded too. You lose your thoracic extension and if you try to externally rotate the shoulders you can only do so up to a certain point.

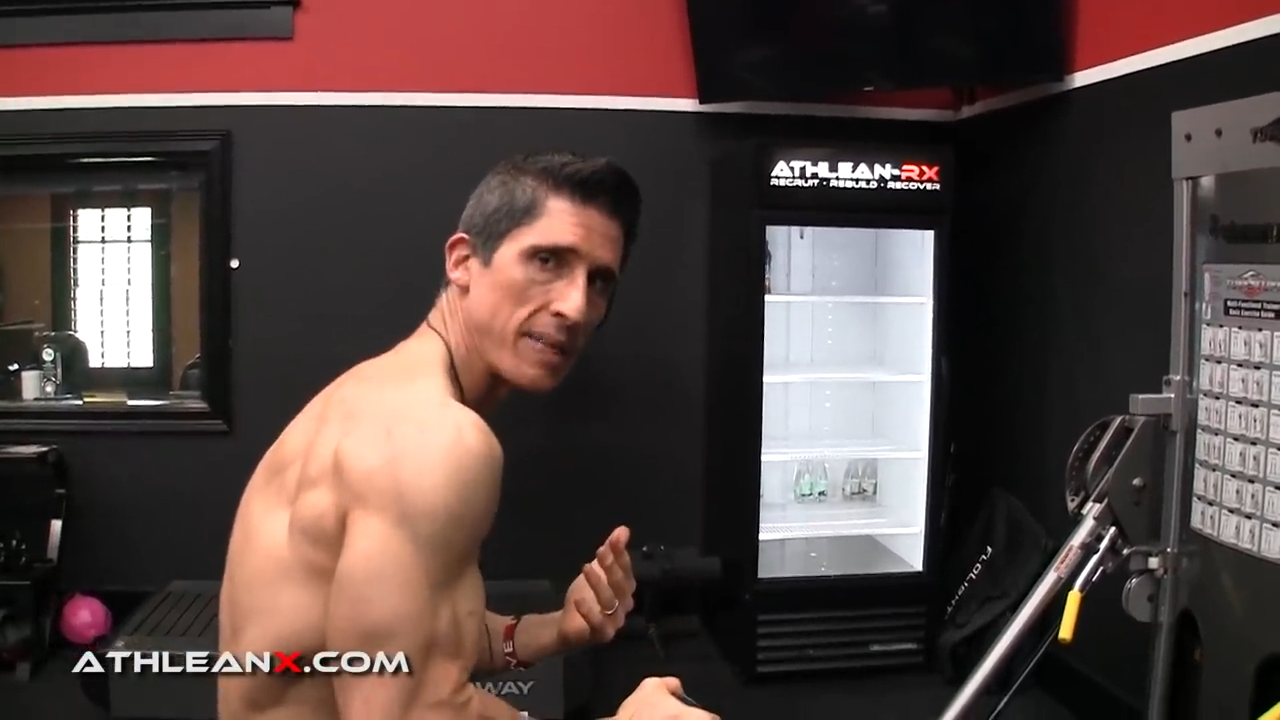
Sometimes people will pull from chin level or even worse, chest height. This positioning puts too much emphasis on the muscles of the upper back, and almost completely removes the rotator cuff from the movement.
In order to properly target your rotator cuff and not turn the movement into a bastardized row or shrug you need to ensure that the anchor point is positioned above your head. You can see that when I stand up into full extension, now I get an extra 20 degrees of external rotation.

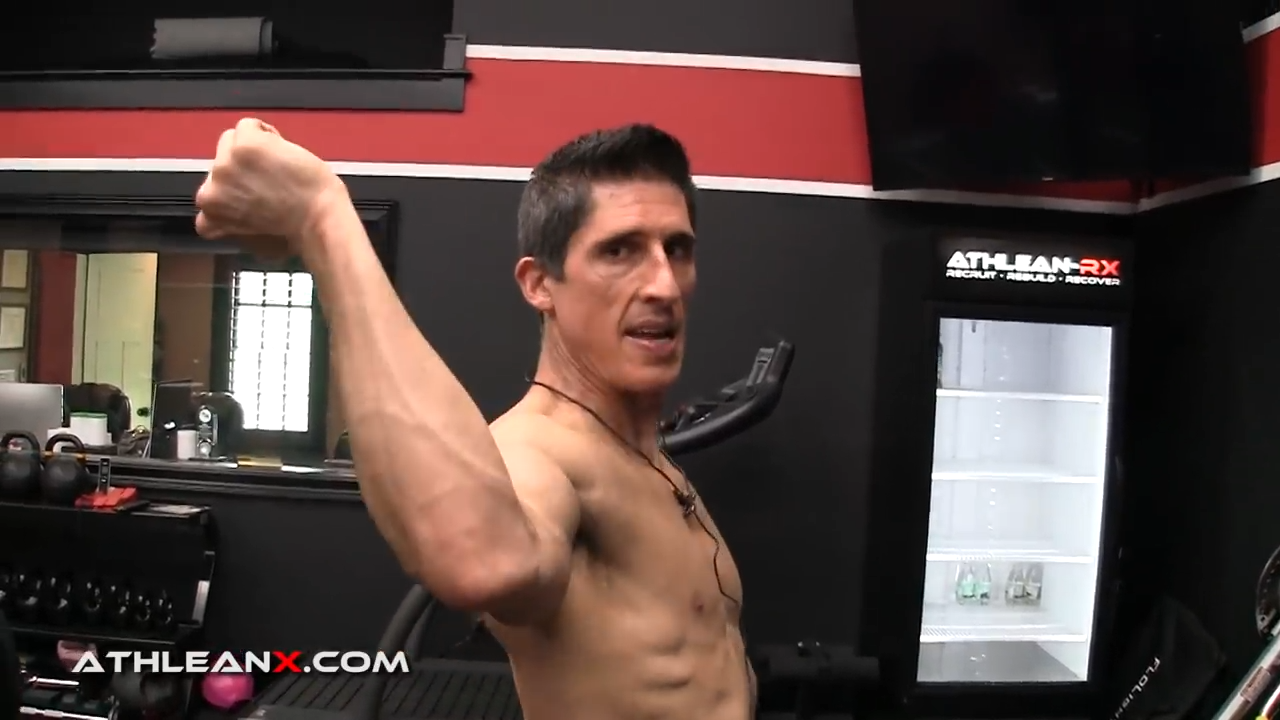
If I instead use a higher anchor point for this exercise, when I pull back I’m concentrically pulling into external rotation.

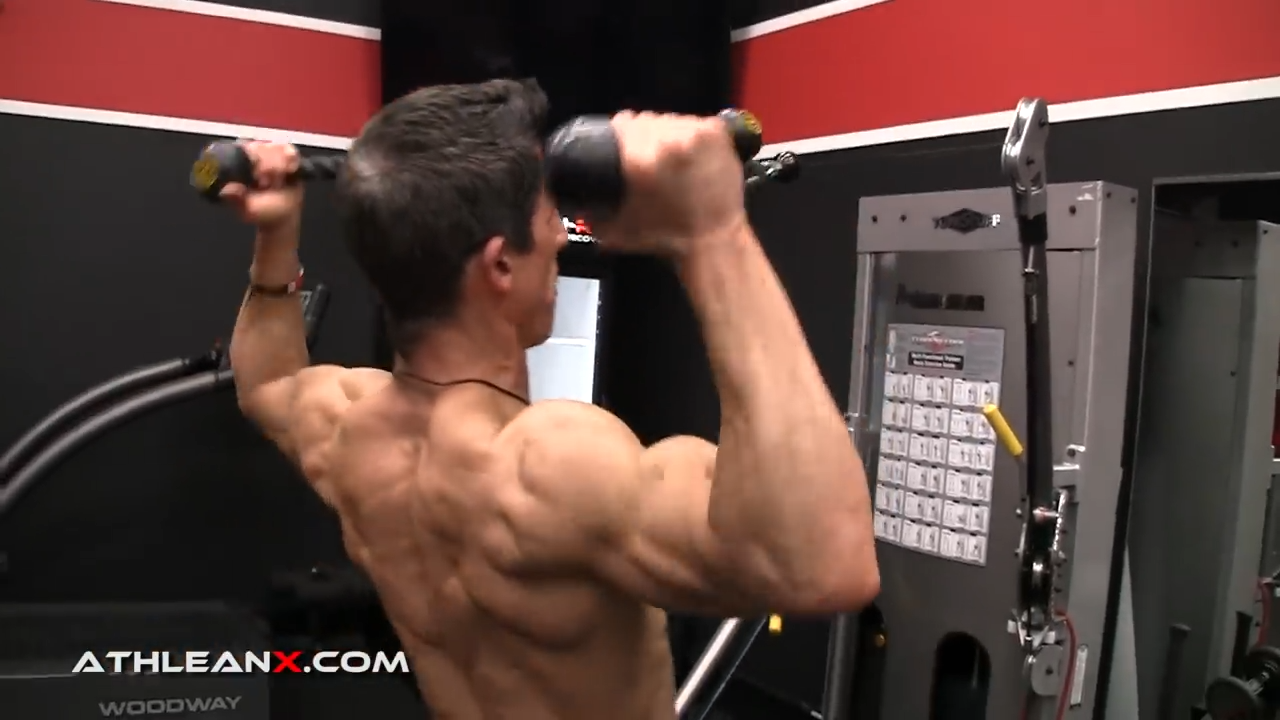
When we get in the correct position of external rotation pulling from high to low, we strengthen the muscles we’re looking to work in this exercise: rear deltoids, mid scapula, rhomboids and traps.
BEST STANCE FOR THE FACE PULL
The best stance for the face pull is the one that’s most athletic, but which is that?
Often people tell me “I’m never sure if I’m supposed to stand square, or if I’m supposed to stand staggered, or if I’m supposed to put my leg up on something.”

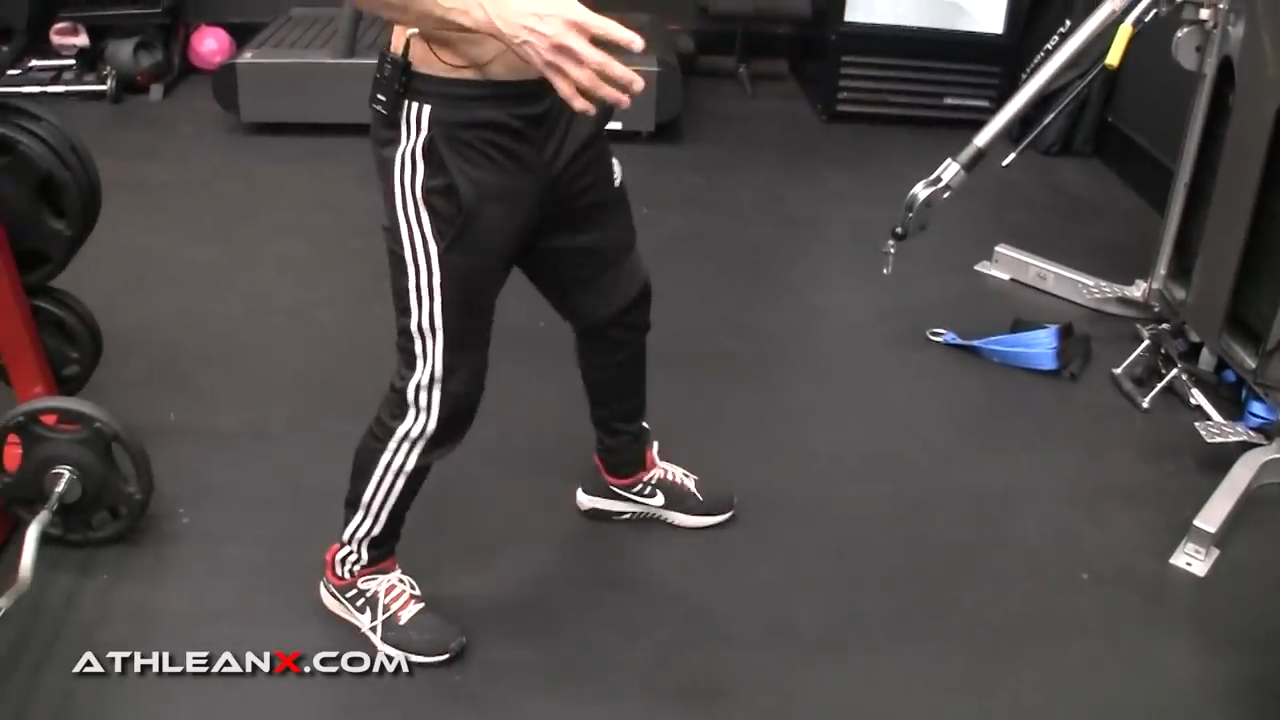
The best, most athletic stance for the face pull is a square stance.

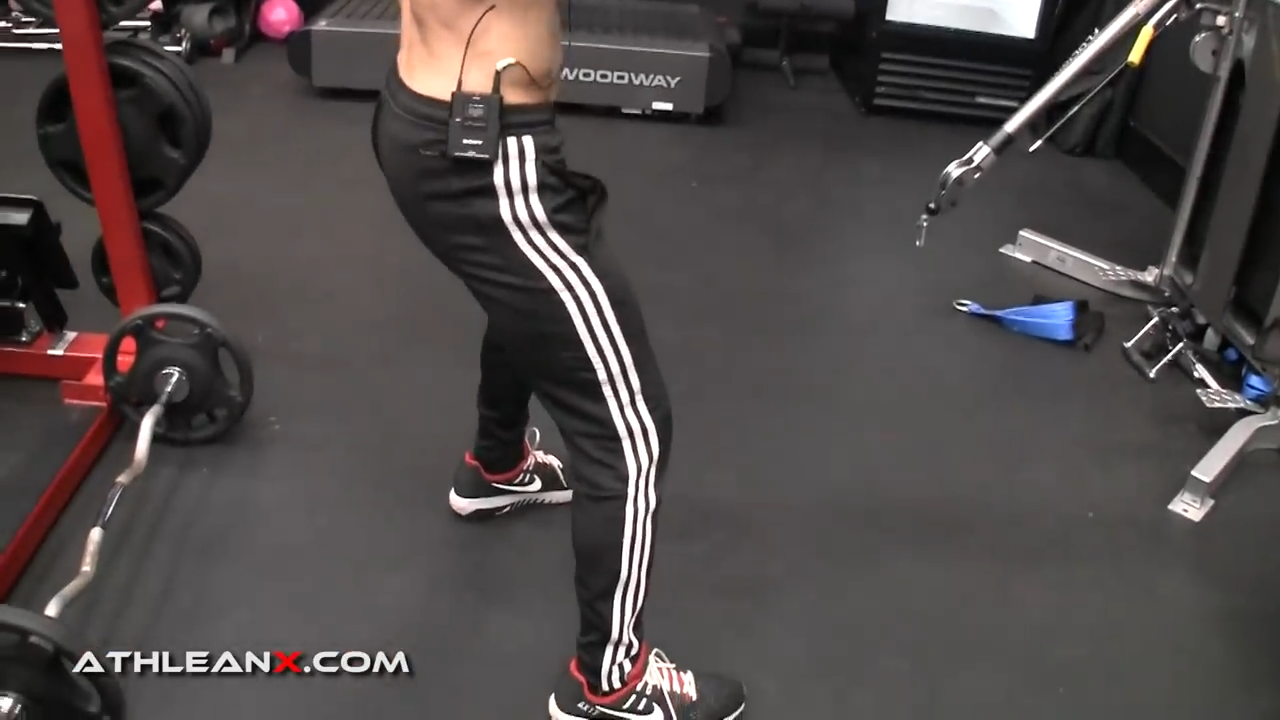
The square stance regulates the amount of weight you can use and makes it tough to overload it to the point where it degrades your form on that exercise. If you try to go so heavy that you’re getting pulled forward, you know you’re going too heavy.
If you have bad balance, it’s ok to get into a staggered position as long as you square up your hips and shoulders and pull that way throughout the exercise.
CORRECT GRIP FOR THE FACE PULL
Grip is one of the most important factors when it comes to the face pull.
Lots of people who do get the high to low anchoring correct, go wrong when they take an overhand grip. Again, this promotes internal rotation of the shoulder with elevation of your arms overhead.

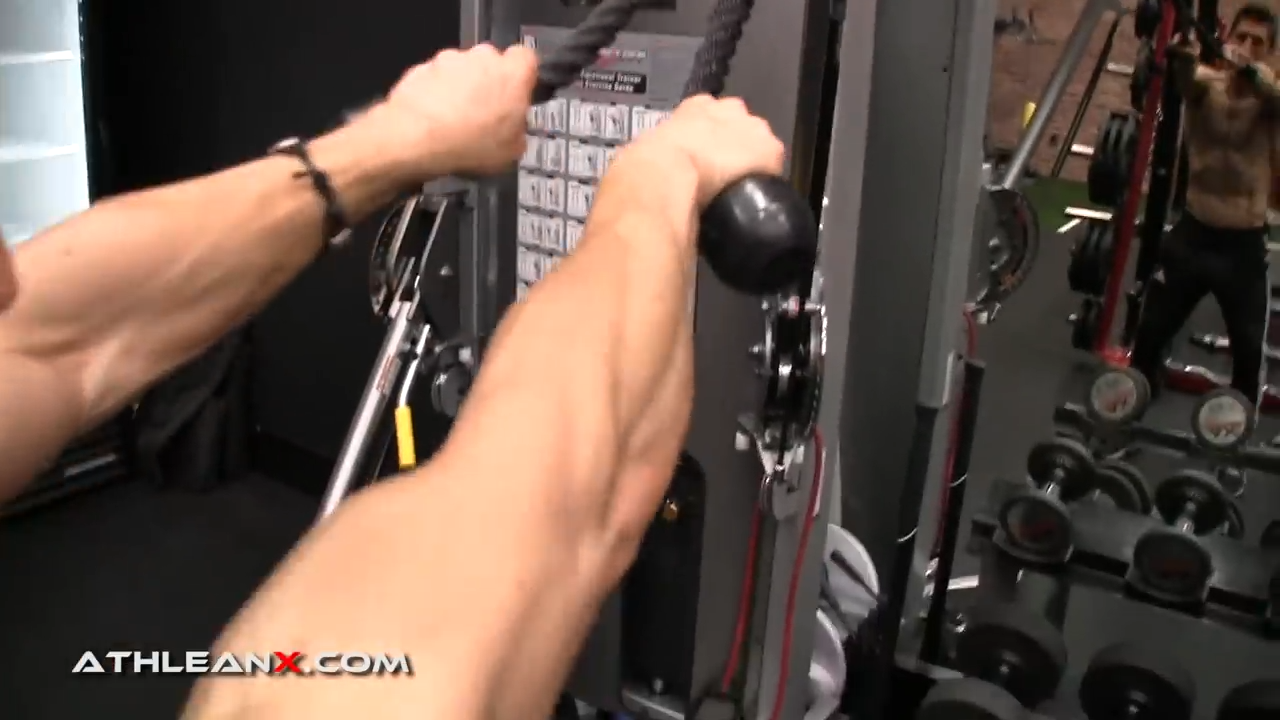
You don’t want to be doing this, especially if you do your face pulls as often as I’m going to recommend you do! You’d be accumulating a lot of repetitions in an internally rotated shoulder position with elevation. Not a good idea.
Instead, grab it in an underhand grip with your thumbs backward. This gives you the external rotation of the shoulder with elevation which is what we want.

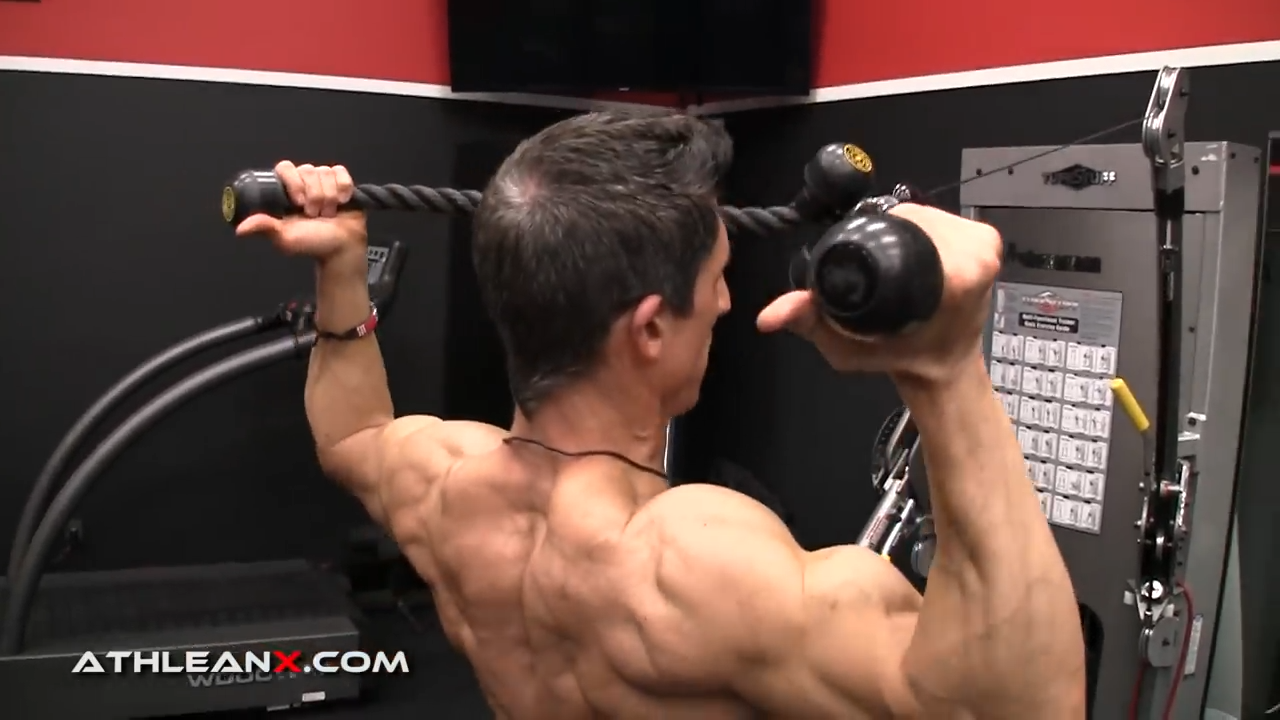
TRAVEL: REMEMBER, IT’S A FACE PULL!
Travel is the track your hands and elbows take the rope or cable as you pull. There are two things you want to pay attention to here.
The first thing is: where are you pulling to? What’s the destination?
This should be easy, but it gets screwed up a whole hell of a lot!
This is a FACE pull.
So that means you’re pulling to your face, right? Right around your nose. My big nose is a nice target for me.

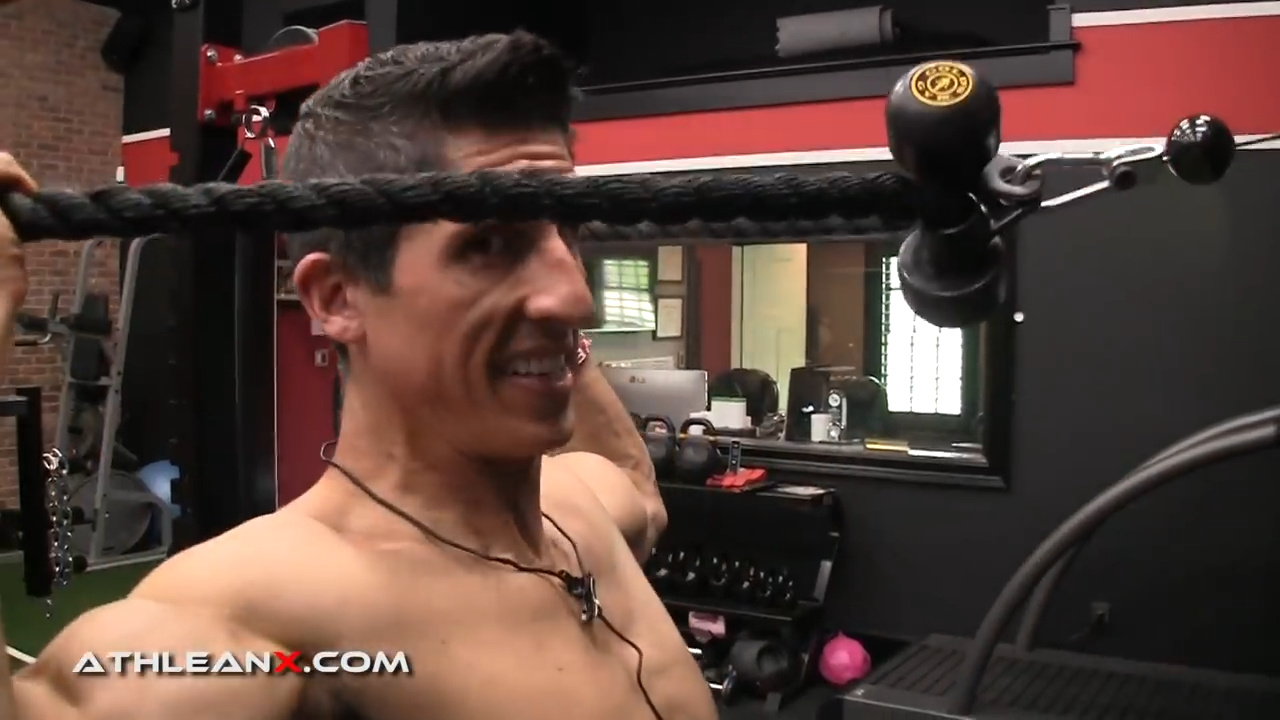
It’s not a clavicle pull.
It’s not a chest pull.
It’s not an overhead pull.
It’s a face pull! So, you want to make sure that’s your destination.
The other important thing to pay attention to is the position of your hands and elbows at the end point of the movement.
What wins the race to the end point… your elbows or your hands?
The answer is: your hands.
People get this wrong all the time. They let their elbows win like this.

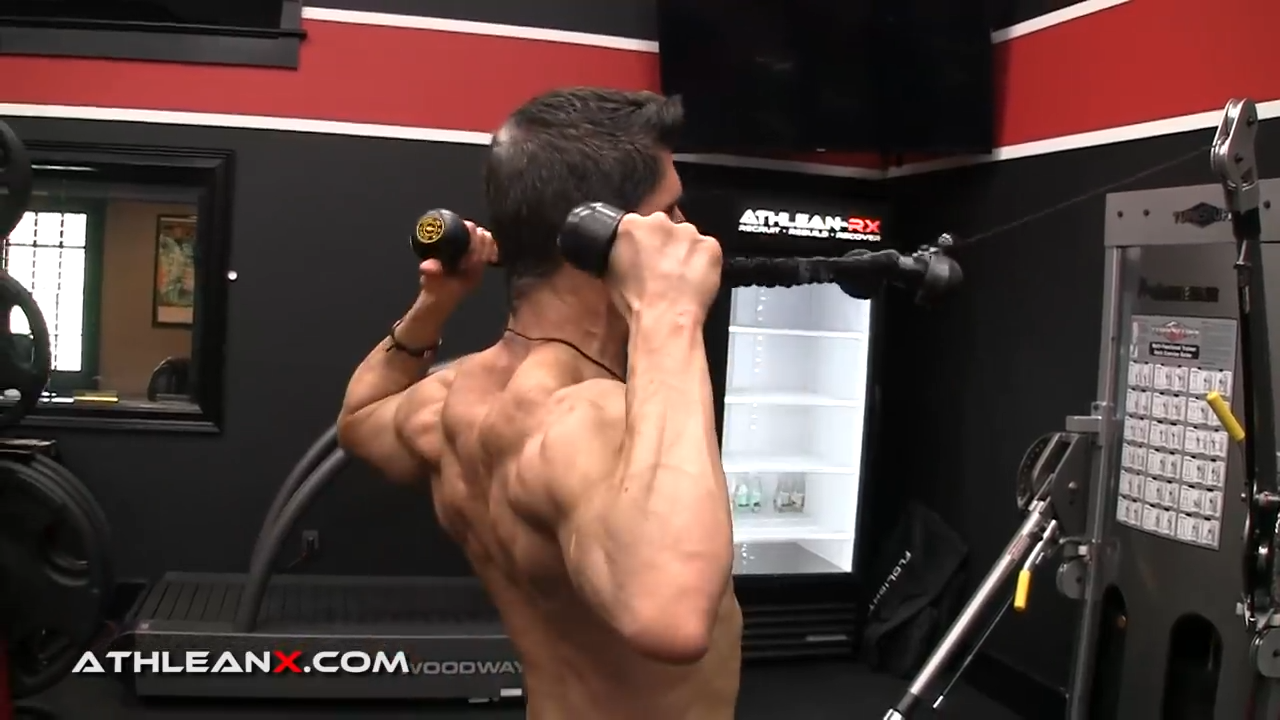
You do not want your elbow beating your hand because it creates internal rotation with elevation of the shoulders yet again.
Instead the hands should be beating the elbows in a race to the back.

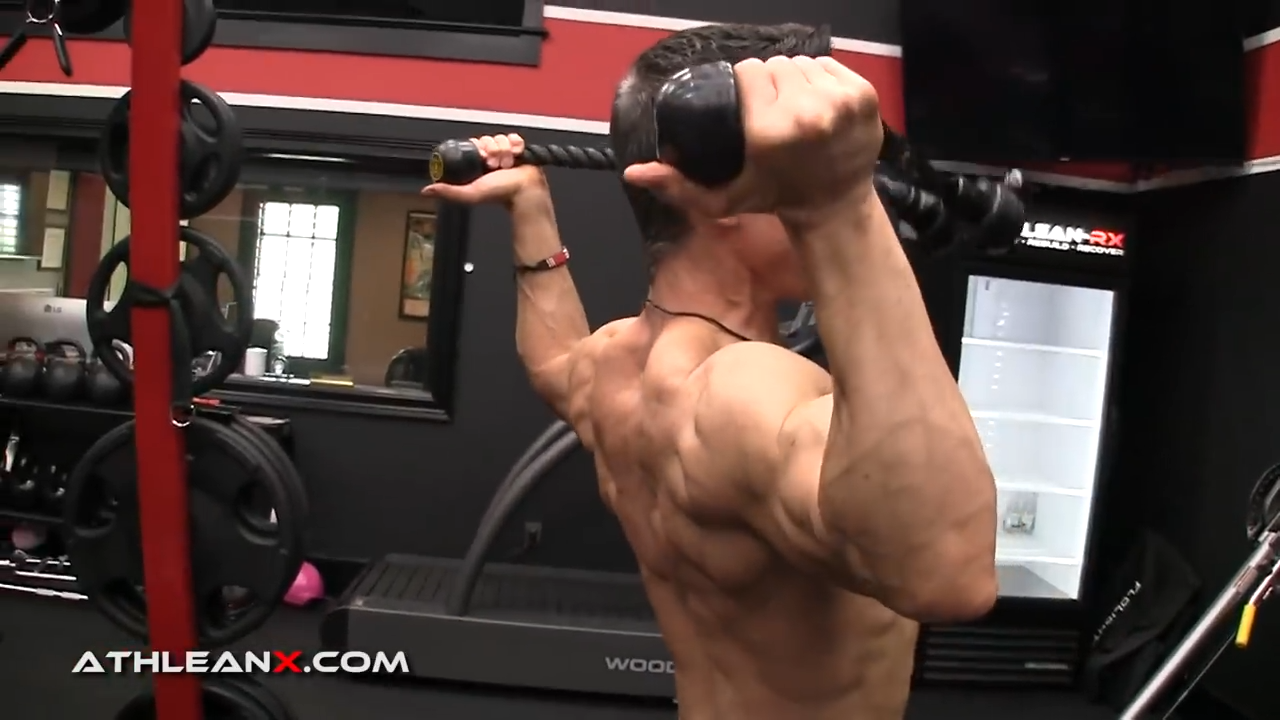
What we’re trying to do is close down the back and open the chest. Squeeze the shoulder blades, externally rotate, get the rotator cuff involved and allow the traps to pull and help.
The benefit of this exercise is driven by the rotator cuff.
If you’re having difficulty doing that I’ve got a couple of modifications that will help you reinforce it.
FACE PULL MODIFICATIONS
There are two great modifications for the face pull that will help you get even more out of this great exercise.
The first one will help you reinforce the rotator cuff as the driver of the exercise.
If you get down on the ground to perform the exercise, and you’ll find that if you lead with the elbows your hands can’t come anywhere close to the ground. Instead, you’ll want to make sure your hands or at least the nubs of the rope are making contact with the ground with the elbows elevated.
Squeeze for a second or two, and come back up. Don’t let the hands drift. Keep them down in contact with the ground.

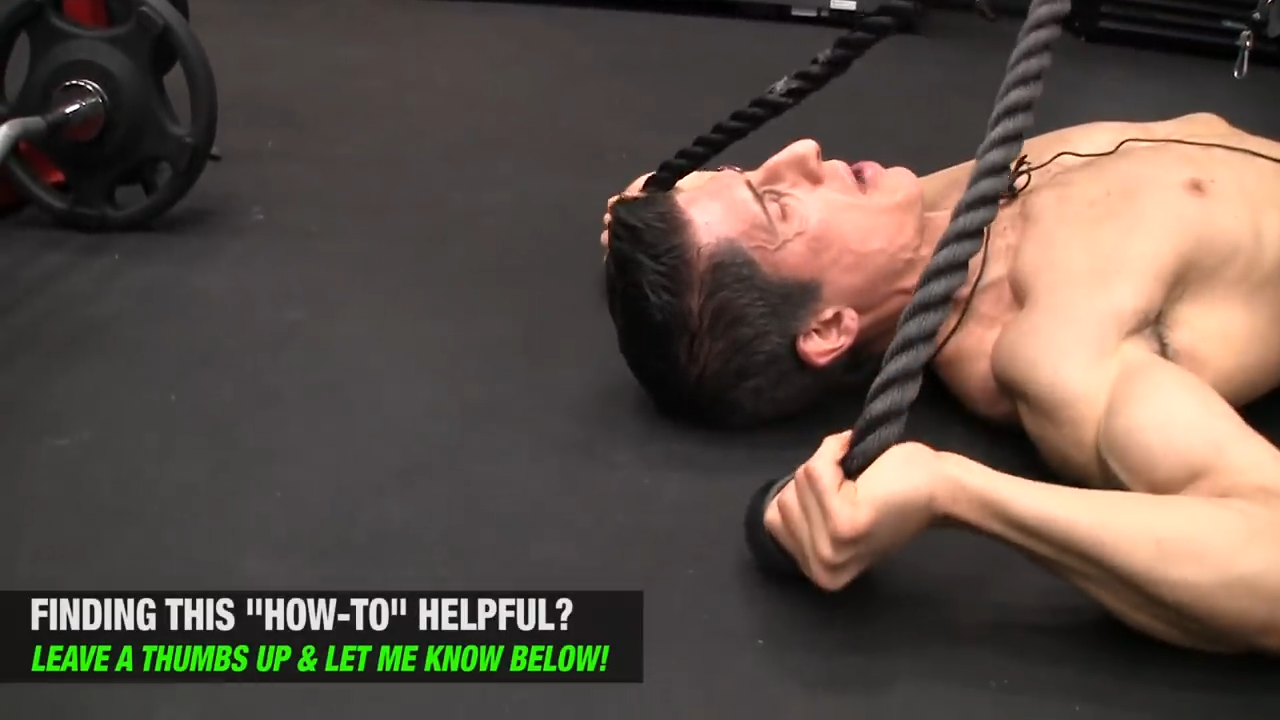
This is not only a great way to feel the correct positioning for the face pull, it’s a fine way to perform the exercise.
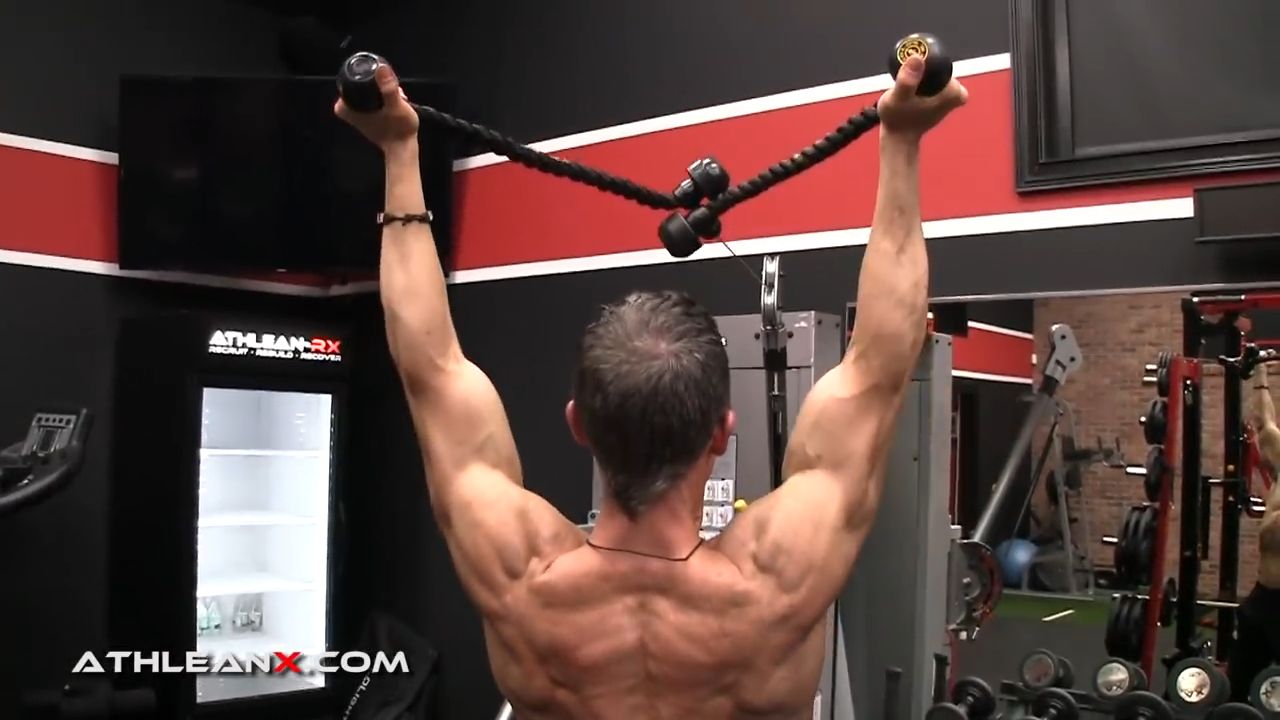
The second variation I’ll show you improves upon the face pull by bringing the lower traps into the exercise in addition to all of the muscles the face pull already targets.
You do this by adding a raise of the arms at the end point of the movement.
The lower traps are really important for creating stability of the scapula as we raise our arms up over our head. Performing the face pull with this extra arm raise helps us give them some much needed attention.
It does require a little more strength, but it’s a modification that’s worth trying to do.

WEIGHT SELECTION AND PROGRAMMING
A lot of people ask me how heavy they should load their face pulls and how often they should perform them.
Let’s talk about weight selection first. The right weight is not so heavy that it’s pulling you forward, but not so light that the exercise becomes ridiculous.
This isn’t a corrective exercise so you don’t want to be limp with the cable.
However, you also don’t want to load it so much that you need extra momentum or a backward lean in order to move the weight. This is NOT a power move or an opportunity to demonstrate your strength.
You just want to load it enough to get a meaningful contraction in the muscles we’re trying to target. You’re trying to strengthen weak muscles that are being compromised by over-dominant anterior chain muscles.
What about sets and reps? Let’s put it this way. If you’re going to do 12 reps of these, make sure it’s 12 sets of 1.
That’s the mentality.
Every single one of them has to be a good, solid contraction.
Squeeze, hold, raise up if you’re going to, come down, and rest. Reset and begin your next rep.

Now let’s talk about frequency.
If you’ve been following me on YouTube, I probably don’t need to tell you when to perform this exercise.
The answer is simple.
EVERY DAY!
That’s correct. The face pull is so important and gives attention to so many important but underused muscles that you can perform it every single day.
You’re not going to overtrain with these. You’re addressing a weakness, and counteracting the postural effects that this weakness has on you by doing the face pulls more frequently.
While there are no magic bullets in the pursuit of fitness and athleticism, the face pull is as close to one as we’re going to get! People who properly perform the movement have reported improved posture, elimination of neck, back and shoulder pain as well as a reduction in chronic headaches. Regardless of your training goals, you want to keep your postural muscles healthy, so throw in some face pulls at the end of every workout.
As you can see, it’s not just what exercises you do but how you do them that matters the most. Get a step by step ATHLEAN-X program based on your specific goals that will show you how to do every exercise for maximum benefit without risking injury. In other words, all gains and no pain!

- Face pulls help improve posture and strengthen chronically weak muscles in the back and shoulders. The problem is that most people perform face pulls incorrectly.
- To correctly perform the face pull you need to set a high anchor point and perform the exercise from a high to low position. You want to create external rotation and elevation of the shoulder and avoid internal rotation with elevation, which is dangerous for the shoulder.
- A square stance is the best and most athletic position for the face pull because it makes it difficult for you to overload the exercise and forces you to use your balance and strength.
- The best grip position for the face pull is underhand, and you want to make sure that the rope or band is traveling toward your face, not anywhere else.
- There are two modifications for the face pull that will help you get more out of the exercise. Performing it on the floor will help you ensure your hands are beating the elbows to the end point of the movement. Performing an additional arm raise at the end point of the movement helps involve the lower traps.
- When it comes to weight selection, it’s important not to overload or underload the face pull. Choose a weight that challenges the muscles you’re trying to target.
- I recommend doing face pulls every single day, because you are correcting chronic weaknesses in your body that are created by the typical rounded forward positions we adopt at work and while driving our cars.
FACE PULLS FAQS
Face pulls work the posterior deltoid, mid traps, lower traps, infraspinatus and teres major.
Face pulls are a great corrective exercise that help strengthen some of the chronically weak upper body muscles that become weak during when we sit slumped forward for long periods of time. They help fix poor posture and shoulder dysfunction.
To do face pulls, take a square stance with the feet standing in front of the cable machine. The arm of the cable machine should be adjusted at a point somewhat higher than the top of your head. Take an underhand grip on the rope attachment (even better if you can use two rope attachments) with your thumbs pointing backward. Pull the ends of the rope attachment(s) toward your face. Your hands should reach the end point before your elbows.
Face pulls correct poor posture and shoulder dysfunction. They also help offset the front to back imbalance that is created when we train chest, triceps, shoulders. Finally, they also support the shoulder joint because of the rotator cuff work involved.
Yes, face pulls fix rounded shoulders by correcting the poor posture and shoulder dysfunction that is created when we spend long periods of time sitting and hunched forward at our computers or driving in our cars. Face pulls also help offset the front to back imbalance that is created when we train chest, triceps and shoulders.
The right weight for face pulls is not so heavy that it’s pulling you forward but also not so light that the exercise becomes useless. It’s important to load it enough to get a meaningful contraction in the muscles being worked, but be sure not to load it so much that you need extra momentum or to lean backward to be able to move the weight.
REFERENCES
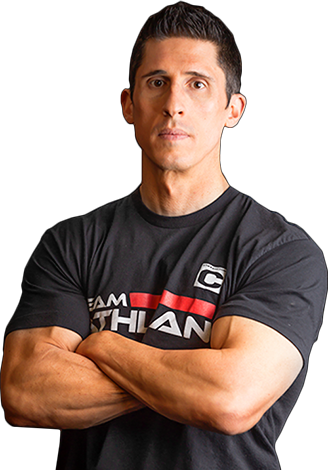
Jeff Cavaliere M.S.P.T, CSCS
Jeff Cavaliere is a Physical Therapist, Strength Coach and creator of the ATHLEAN-X Training Programs and ATHLEAN-Rx Supplements. He has a Masters in Physical Therapy (MSPT) and has worked as Head Physical Therapist for the New York Mets, as well as training many elite professional athletes in Major League Baseball, NFL, MMA and professional wrestling. His programs produce “next level” achievements in muscle size, strength and performance for professional athletes and anyone looking to build a muscular athletic physique.
